you-have-to-go-down-the-chute

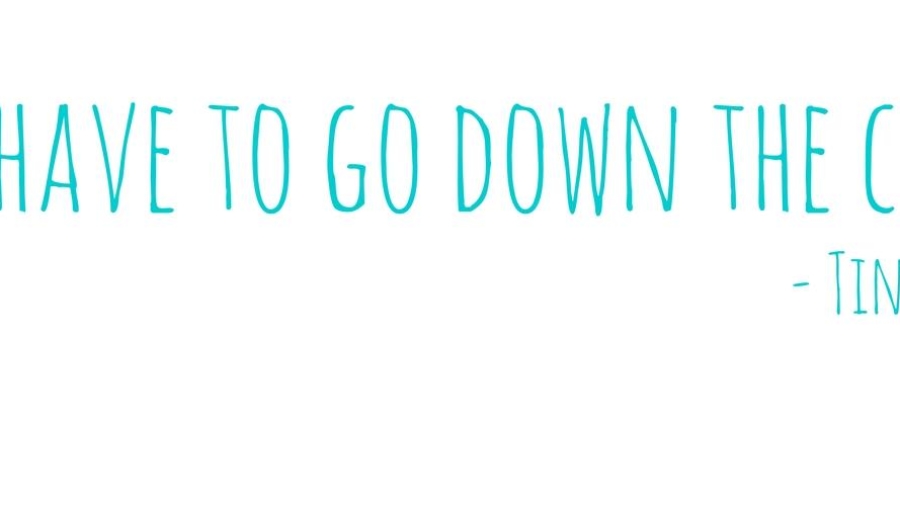
You have to go down the chute

I would never call myself a perfectionist.  

But, I would definitely call myself a procrastinator.

I have a tendency to wait until things are ‘right’ or ‘ready’ before putting them out into the world.

And while I like to tell myself that I’m being sensible and considering all potential outcomes before I make a move, I’m not sure that’s always true.

Sometimes I’m overthinking things.  

Protecting myself by waiting, and fiddling, and generally faffing.

Rather than just going for it.

So as a reminder to myself that at times I need to stop thinking and just take action, I’m putting this quote out there.

You-have-to-go-down-the-chute

And it feels so right for me, because I really would be that kid.

Even now waterslides make me nervous, and if I could I would sit at the top, overthinking it.  Deciding if I actually do want to go for it and slide down.

A while ago I was in Kent visiting my family and ended up going to the local pool with my sister and her daughters.

And towards the end of our visit all 3 girls decided they wanted to go down the big flume.  I say big, but my sister is most likely laughing reading this because it probably wasn’t that big!

Anyway, not wanting to look scared in front of the children, I gamely climbed up the stairs.

I reached the top and sat with my niece.

And the thing was, with her there with me there wasn’t time to overthink it.  We just went.

And, honestly, it was really rather fun.

Seems that sometimes, both literally and metaphorically, you really do just have to go down the chute!


Cuddle Fairy
living-arrows

Living arrows 41/52

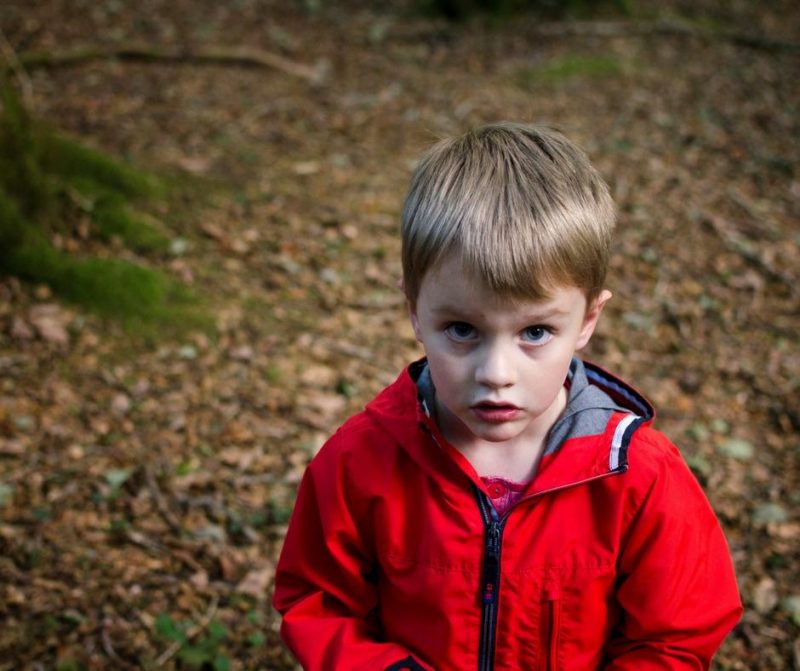
I’ve been experimenting a bit with my photography style lately.

Reassessing what I want my sessions to look like with my business, and playing around with different styles in my personal photography.

A few weeks ago I shared a photo of Nerys which was much softer than I would normally like.  But I fell in love with that softness.

This week I’m sharing a photo of Rhys that is also a bit different from my other photos.

There is a bit more contrast than I would normally have.  And I took the photo from above, with him looking up at me, whereas normally I like to get on his level and shoot from there.

I love this though.

So often he seems to be growing up so quickly and getting so big.

This photo makes me feel like he’s still my little boy.

living-arrows

“You are the bows from which your children as living arrows are sent forth”


Living Arrows
mamia-aldi-juice

#MamiaDaysOut challenge

Over the last few years I’ve heard more and more good things about Aldi, and how great the quality of all their products is.

So I was really happy when I was sent a gorgeous hamper of Aldi Mamia products to try out as part of the #MamiaDaysOut challenge.

The hamper was full of great products for little ones to enjoy on the go, which is perfect for us as we’re so often out and about on the school run, on trips to the park and visits to the beach.

And I always like to make sure I have a snack and a drink with us to keep Rhys and Nerys going!

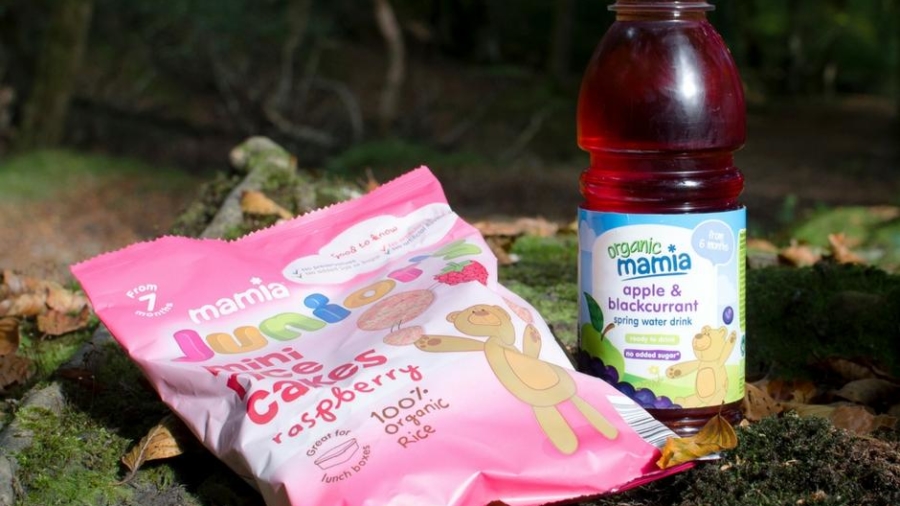
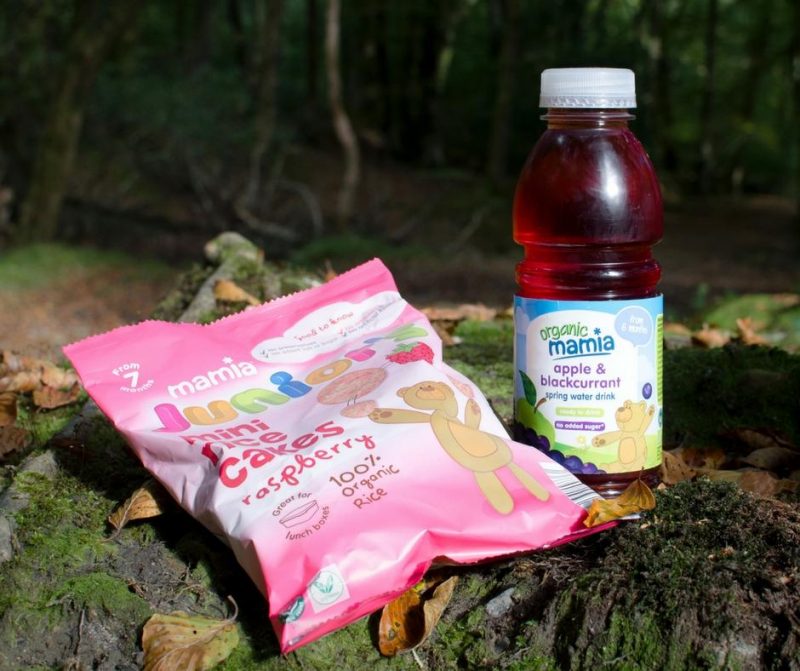
Included in the hamper were some rice cakes, some pouches of puree, some fruit pots and a bottle of apple and blackcurrant drink.

aldi-mamia-food
All the products in the range are 100% organic which is great, and having sampled them I’m not surprised that they’ve won awards.

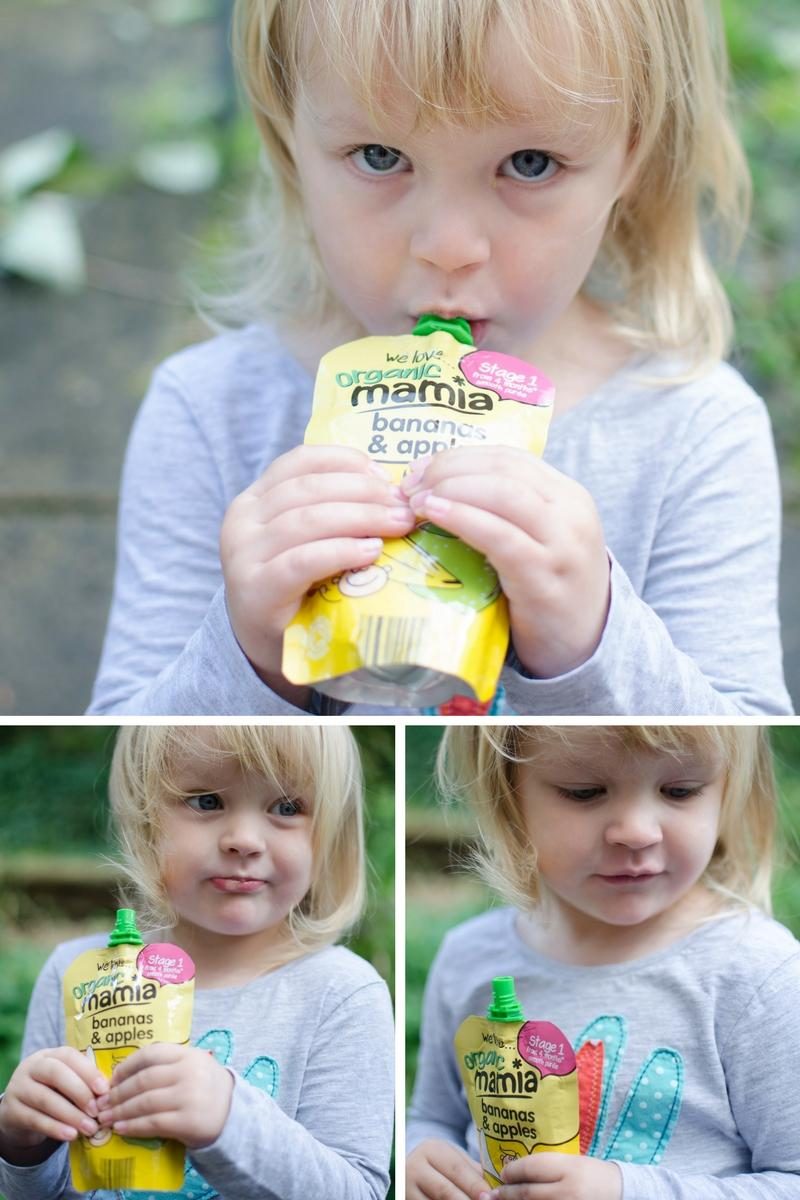
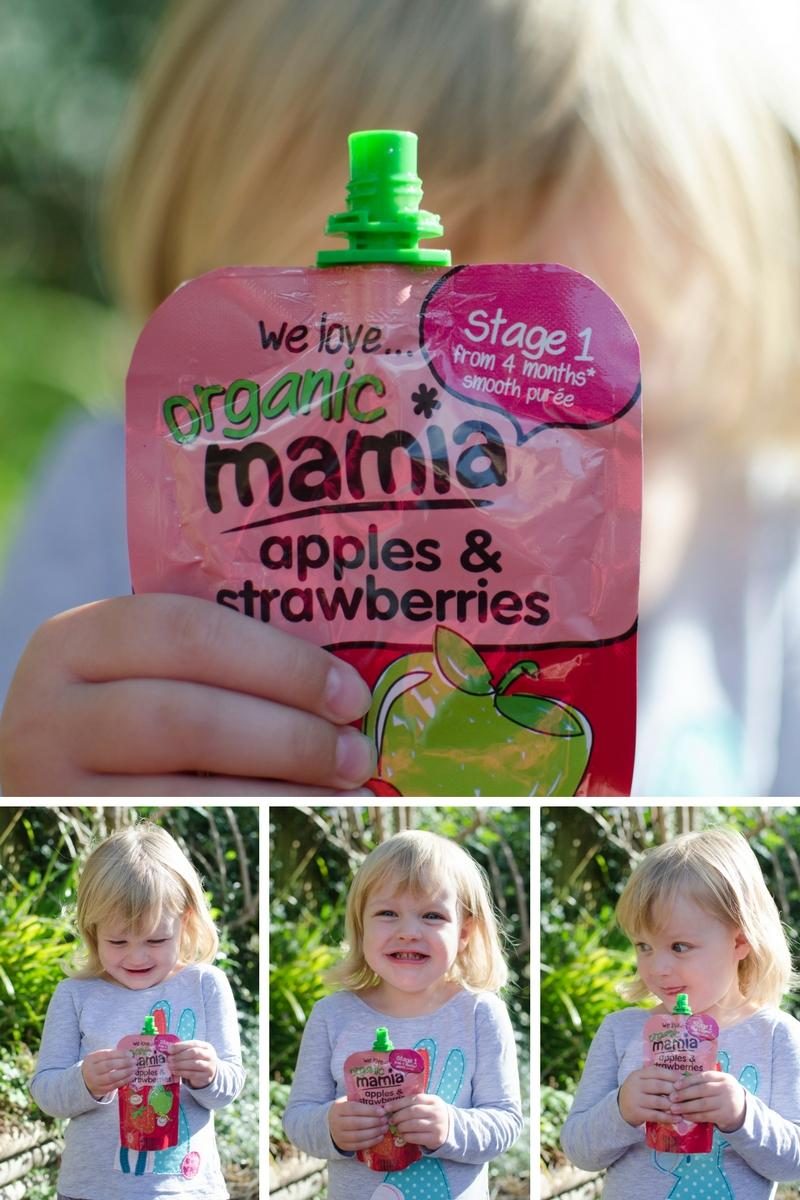
Nerys devoured the pouches at a ridiculous rate!

aldi-mamia-days-out
Nerys absolutely loved all the different fruit pouches that she tried.

I was really pleased as she can be pretty fussy at times with what she eats so these are a fab way for me to get some fuity goodness in her!

She calls them her drinks, and after tasting them myself they really are like smoothies in a pouch.

And they’re really convenient for popping in my bag when we’re heading out somewhere.

aldi-mamia-pouches
All the pouches may have disappeared really quickly once Nerys got her hands on them, but I managed to save some of the other goodies to take with us on a walk to the local woods this weekend.
mamia-aldi-juice
We hadn’t been to Clyne woods for ages, but decided that it would make a nice change from the beach for our walk this weekend.

And we weren’t wrong.

It’s so pretty there, especially going into autumn with the trees starting to change colour and drop their leaves.

And we just love the fact that it’s so quiet there.  

I think we passed about 3 other people the whole time we were there.

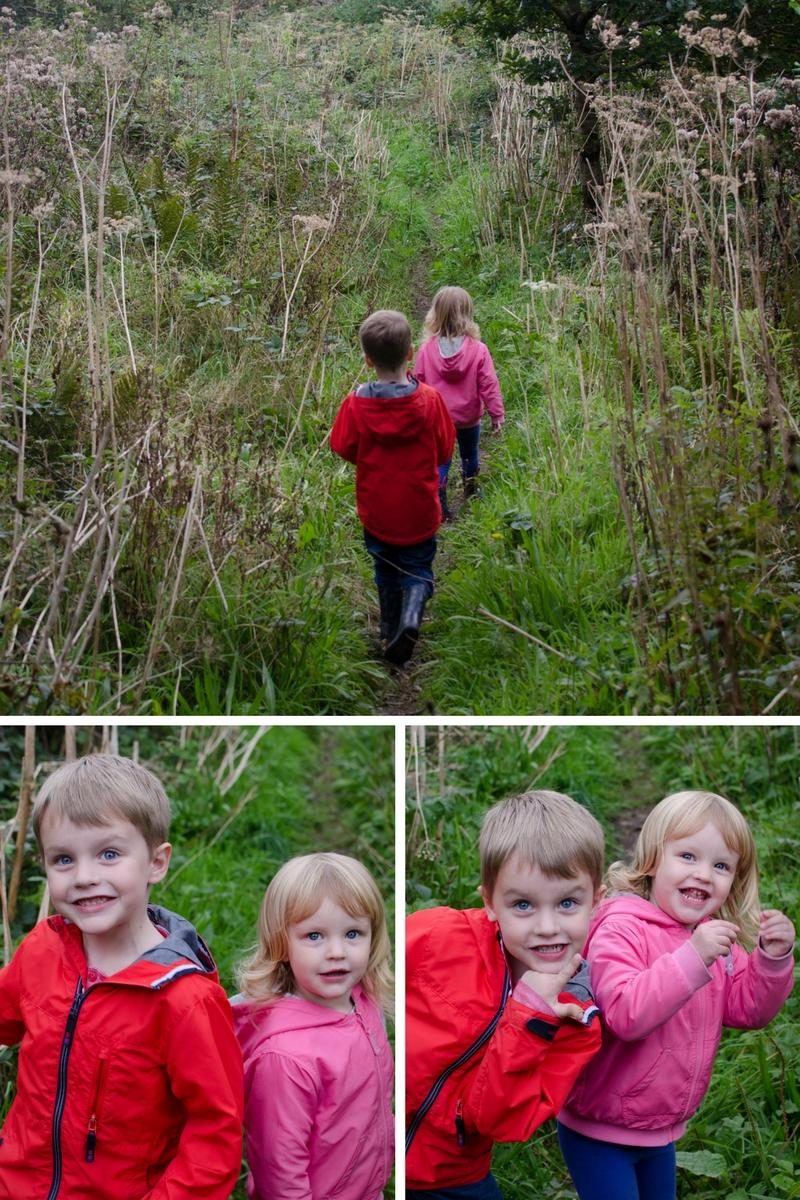
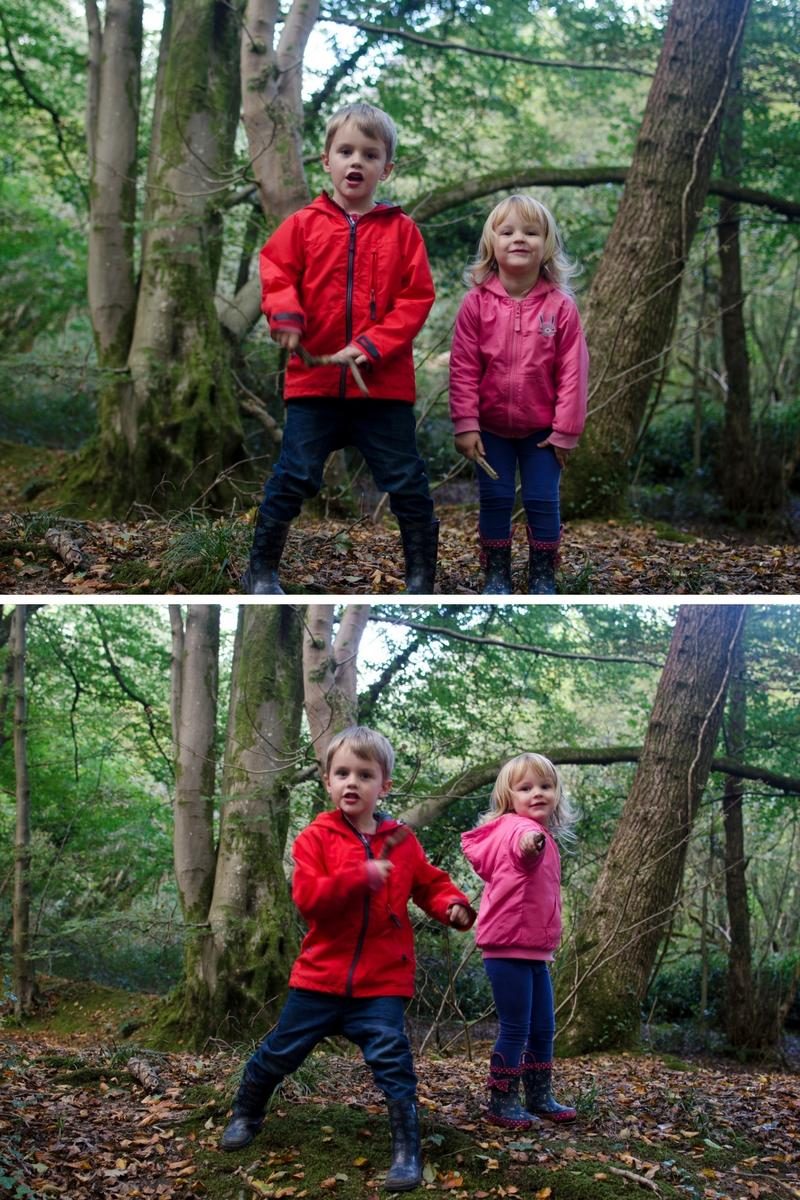
And the children were so excited to go on an adventure and explore all the different paths and jump across the streams.

mamia-days-out
After a fair bit of adventuring we stopped for a rest and a snack.

Rice cakes have been a staple snack in our house since we started weaning Rhys and the ones from the Mamia range are just as tasty as all the other brands we’ve tried.

I love how many you get in these bags.  We tend to pop some in a little tub to take out with us, meaning a bag like this will last several outings!

And the juice went down very well, and is a nice option for little ones who don’t enjoy plain water.

After our snack break there was time for a little more exploring then we headed back to the car.

These two had a lovely time in the woods and we really enjoyed watching them run and jump and explore!

Clyne-woods
This post is an entry for BritMums #MamiaDaysOut linky challenge, sponsored by Aldi Mamia.
real-baking-cookie-kit

#RealBaking review – Cake pop kit, Cookie kit and Chocolate pen.

Oh we’ve been having some fun in the kitchen lately!

We recently reviewed the great baking set from Vivid Imaginations and had a lot of fun with that.

So Nerys and I were really quite keen to get stuck into the other sets we were sent to review.

Here are my thoughts on the cookie kit, chocolate pen and cake pop kit.


Real baking cookie kit

First up we spent a rainy afternoon trying out the cookie kit.

The set comes with a silicone baking sheet, a rolling pin, a rolling pin guide, a piping bag and a selection of cookie cutters.

real-baking-cookie-kit

As the set is designed for children aged 6+ everything in it is child-sized, which is lovely because it is nice and easy for a child to use it all, but it does also mean that you can’t make that much in one go with it.

As you can see from the photo you can only fit about 6 ‘normal’ sized biscuits on the little baking sheet, so you have to either make them in batches or do what we did and make lots of smaller biscuits and put the ones that don’t fit on a separate baking sheet to cook them.

The set comes with instructions on how to use the items included, but would be even better if it included a recipe or two.

With no recommendations in the kit it’s hard to know how much dough to make to work well with the size of the tray.

In the end I found a simple biscuit recipe that actually worked out really well and was nice and easy to make.

Nerys then really enjoyed rolling out the dough using the rolling guide to help her.

I have to admit I was a bit dubious about how well this would work.  I had visions of the whole thing just sliding around and her getting frustrated.  But actually she managed it really well and the guide really did help get the dough to a perfect thickness to then cut out the shapes.

real-baking-cookie-kit-rolling-guide

Once we’d used up all the dough we popped the biscuits in the oven for about 12 minutes.

I was really pleased with how well they came out!

real-baking-cookies

I would point out that even though the kit is called the ‘cookie kit’ you’re much better off finding a biscuit recipe rather than a cookie one.

Mainly because cookies quite often spread when you bake them, whereas biscuits will hold their shape better.

This kit comes with quite a nice selection of different cutters so it’s fab when they come out of the oven looking like the butterflies, flowers and stars that you wanted!


Real baking chocolate pen

Next we tested out the chocolate pen kit.

Oh I had such mixed feelings about this!  

On the one hand I was really excited to try it, because chocolate!  But on the other hand I just wasn’t sure how easy it would be to use.

And after reading the instructions I wasn’t feeling particularly reassured, because honestly it all looked quite fiddly.

In the set you get the Chocolate Pen, 3 mould trays, 4 nozzles & clamps, caps, 12 bags for chocolate and an instruction booklet.

real-baking-chocolate-pen

Firstly, I was a little bit disappointed when I realised that the pen requires batteries but these aren’t included.

Luckily we had some at home, but it was still a bit of a faff to dig out a screwdriver to put them in.

Secondly, I think the kit would be that little bit more special if there were a couple of bags of chocolate buttons in there, as this is what is recommended in the instruction booklet.  But there isn’t any chocolate included in the box.

Once we got started though I found that setting up the pen wasn’t quite as fiddly as I’d expected.  But I’m really not sure how well a 6 year old would manage if they tried to do it.

You have to fill one of the little bags with chocolate, attach a nozzle and clamp and then put the bag in warm water to melt the chocolate.

Once it’s all melted you put the bag into the pen and fasten it all up.  This part is a little fiddly but after you’ve done it once or twice it does get easier.

To get the pen to work you press the big button on it, which pushes a plunger inside the pen that then forces the chocolate out of the top of the nozzle.

You can then use it in two ways.

You can use the pen to fill up the chocolate moulds or you can draw freehand with it onto baking parchment.

We tried both and had a lot of fun.

The moulds I really liked.  There are quite a few to chose from and you can layer up colours if you feel fancy.  We only had milk chocolate in the house so ours are quite simple but I still think they came out really well.

And I think they’ll be lovely to make with the children to give to people at Christmas time.

real-baking-chocolate

As for drawing with the pen?  Well, maybe with a bit more practise we would get better but our results this time weren’t amazing!  The nozzle is quite big on the pen so I’m not quite sure how you could achieve the lovely delicate writing that’s shown on the box!

We ended up with a sort-of butterfly (my effort), a lovely muddy puddle (Nerys’ work) and a big flower with a leaf on the stem (a joint effort).

Not too shabby for a first attempt, but nothing like the examples on the box.

real-baking-chocolate-pen-001

My main feeling with this set is that, once you’ve got it up and running, it’s a lot of fun.

Nerys really enjoyed using it, and Rhys is desperate to have a try too.

It is tricky to get amazing results with it, but then it’s not claiming to be a professional tool.  To my mind, it’s a toy.  It’s supposed to just be fun, and to encourage children to want to bake more and get more involved in the kitchen.

And I think that it works well with that in mind.


Real baking cake pops

The last thing we tried out was the cake pop set.

And like with the chocolate pen, I was a bit apprehensive.

I’ve always loved the idea of cake pops but had never actually made them before because they always seemed a little complicated.  And at first glance this set didn’t make it look simple either, mainly because of the number of steps there are in the instructions!

In the kit you get 2 silicon mould sheets, 2 cone moulds, 1 mini doughnuts mould sheet and 12 lollipop sticks.

real-baking-cake-pop-kit

First impressions are that the pieces all feel nice quality, but there’s not much to the kit.

It seems a bit of shame that you can only make 4 cake pops at a time, it would be so much better if there were 2 of the mould sets in there.

And the little doughnut mould is sweet, but slightly random as no recipes are provided so I’m not really sure what to do with it.

The kit comes with 2 cone moulds as well, so you can either just make basic cake pops or you can melt chocolate and pour it into the moulds and then put the cake pops on top of those, to make sort of cake ice creams.

In the end we decided to just go for the basic cake pops, but I’ve promised Rhys we’ll get the kit out again soon and make the cones too!

To make the cake pops you make up your cake mix (I used my basic 2-4-4-4 fairy cake recipe) and then spoon some into one half of the silicone mould, up to the line.  Then you put the other half on top and press it down to secure it in place.

Then bake!

As the cakes rise they form themselves into nice little balls of cake.

I was so sceptical about this.

I really didn’t think it would work properly so I was amazed when I popped open the mould after the cakes had cooled to find these neat little cake balls!

real-baking-cake-pops

The next step then is to simply put the lolly stick in and then dip the cake pops in melted chocolate and decorate.

The issue I had here is that there’s nothing in the kit to use to stand the cake pops up while the chocolate hardens.  So you’d have to lie them down on some greaseproof paper or something similar, resulting in a random flat spot of chocolate.

I got lucky and had a plastic tub waiting to be recycled that actually had 4 little holes in the bottom, just the right size for the sticks.  So I put my cakes pops in there for the topping to set.  I would love it though if the kit came with something like that to make life a bit easier!

The end result though is really good I think.  

Not quite bake off standard but still!  It’s just a bit of a shame that you can only bake 4 at a time.

real-baking-cake-pop-set

There are one or two little niggles with all three baking sets that we tested.

Each set could do with having a few more key bits of kit to them, and it would be really nice if there were recipe ideas in the boxes to get you started.

Overall though, we really like them.

We’ve had a lot of fun and really enjoyed baking something other than our standard fairy cakes.

And I think that’s the key to these kits.

They’re fun.

They’re meant as a way to get kids interested in baking, and trying new skills, and having fun.

And from my experience with them they succeed on all those points.

My adult self has a few nit-picky reservations but the child in me, who always loved the look of things like Mr Frosty and easy bake ovens, really enjoyed them!

We’ll definitely be getting all these sets out again over the coming months.


Disclaimer – I was sent the kits for the purpose of this review but all words and opinions are my own.

new-parent-coaching-cards

The messages we receive as children

I’ve changed a lot in the last 5 years.

Having my children has made me a much more outgoing, open person I think.

For years I’ve told myself that I’m a shy person, that I’m not great at making small talk and chatting to new people.

And I’ve realised recently that since having Rhys that’s just not true any more.  I would call myself an introvert still, but I’m not sure I can claim to be shy any more.

And realising this has made me think about one of the questions in the pack of coaching cards for new parents that I reviewed a little while back.

new-parent-coaching-cards

“What messages did you receive about yourself as a child? To what extent have these messages stuck with you or become true?”

One of the main messages I received about myself as a child is that I was shy.  

As a baby I used to hide under my blanket in the pram if someone tried to talk to me.  I am naturally an introvert and growing up this was displayed in me being shy, and feeling nervous talking to new people and in front of people.

I don’t think my parents used to tell other people that I was shy that much, so I wasn’t labelled with that word as such.

But the message was reinforced in other ways.

My big sister has always been very protective of me, and would do things for me like making phone calls and dealing with situations that were tricky for me.  And, as a child and a teenager, I was incredibly grateful for that.

It made my life much easier and took a lot of stress from me.

But I have wondered at times if maybe it also subtly sent me the message that I’m shy, and need someone to handle things for me.

I’m certain that that’s a message I kept telling myself, long after I grew up and started needing to do things for myself.

It’s taken me becoming a parent to finally break free of that ‘story’ that I told myself for all those years.

The other message I received about myself as a child was that I was stroppy.

To be fair, I was a pretty stroppy child at times.  I would storm off and sulk like a pro.

I don’t think that message stuck with me to any great extent though.  I think I was just a child trying to work out how to handle various social situations and often that came out in a mood where I wouldn’t want to interact with anyone for a while.

I’m not sure if it was a conscious decision on my parents’ part, but I don’t remember really being labelled as anything in particular growing up.  I certainly don’t think I had any real pressure on me to live up to a label, or to try and rebel against one!

This is definitely something I’m aware of now I’m a parent though.  

I try very hard to be careful with the words I use to describe my children.  And I will make an effort to talk about their actions and efforts, rather than THEM as a person.

I’ve never liked hearing a child being called ‘naughty’ for example.

I sit in the camp that feels you should express that the behaviour is naughty, not the child.

What about you?  Were you given a particular label or message about yourself as a child that is still with you today?  How aware are you of the labels you give your children? 

Mummascribbles

Keep Calm and Carry On Linking Sunday
Living Arrows

Living arrows 40/52

So here we are, week 40 of this year’s living arrows project and into October already.

It was Steve’s birthday this weekend and after a couple of days of rain, rain, rain we woke up on Sunday to a gloriously sunny day.

So we popped down to Swansea bay for a walk on the beach with his parents and then headed to the 360 cafe on the seafront for a drink and a welsh cake.

That’s where I snapped these photos of my two.

Rhys who didn’t stop jabbering away the whole time I was trying to take his photo, and Nerys who was feeling poorly with a cold so was quiet and feeling sorry for herself.

Living Arrows


Living Arrows

These two.  They’re so similar in some ways, but so different at the same time.  I’m loving watching their little personalities develop and seeing them become their own people.

“You are the bows from which your children as living arrows are sent forth”


Living Arrows
20 facts about me featured photo

20 facts about me

I was recently tagged by the lovely Emma from Amelia’s Mum to write a list of 20 facts about me.  I always love reading these types of posts for the wonderful, often random, little insights they give you into the person behind the blog.

So I hope you enjoy reading my collection of random facts about myself:

20 facts


1.  I was born on Friday the 13th, and as a result I love the number 13. I am superstitious about other things though.  If I see a magpie I have to greet him by saying “morning Mr magpie”.  And I feel really uneasy if I ever have to walk over three drains.

2.  I love autumn and winter.  Can’t beat wrapping up in woolly hats and warm scarves!

3.  There are 37 letters in my full name.  There are never, ever enough little boxes on forms for me to fit it all in.

4.  Despite my point above, I still gave Nerys names that add up to 33 letters.  Oops!

5.  I have a degree in philosophy and psychology.

6.  The first week of Uni one of my new housemates offered to buy me a drink and I replied no thank you, I’m not really thirsty.  I learnt quite quickly that thirst has nothing to do with drinking alcohol!

7.  I have a birth mark between my shoulder blades.

8.  I love the smell of freshly cut grass, the smell of rain on a hot pavement and the smell that comes from the tumble dryers at launderettes.

9.  Since being forced to eat it at school I can’t stand rice pudding.

10.  I didn’t drink tea or coffee until I was about 19.  I’m well and truly addicted now though.

11.  Even though I’ve seen every episode so many times I still love curling up and watching Gilmore Girls.  So excited for the new episodes!

12.  I don’t have any tattoos, but love the idea of getting a little one someday, maybe on the inside of my wrist.

13.  I considered going to Uni in Aberdeen, but ultimately chose to come to Swansea because there was a lovely vibe here, and you can see the sea from campus.  A real novelty for me because I didn’t grow up near the coast.

14.  In 2 years time I’ll have lived in Swansea for longer than I lived in Kent, which just feels like a really big deal!

15.  Since having my children I’m much less shy than I used to be.  But I’m still an introvert at heart.  I really crave time to myself and love just staying in at home.

16.  I’ve not spoken to anyone to get a formal diagnosis, but I have OCD when it comes to checking things.  I find it really hard to leave the house without first checking, multiple times, that doors are locked, taps are off, etc etc.  Even though I know I’ve locked the door, my mind will flash me an image of it wide open and I find it really hard to trust that the mental image isn’t real.  It’s something I’m really trying to work on before it gets worse.

17.  I call woodlice “cheesy bugs”.  I really don’t know why, but apparently it’s what everyone calls them in North Kent where I grew up!

18.  I can curl my lip like Elvis, but I can’t roll my tongue.

19.  Growing up I absolutely loved the baby-sitters club books.  My cousin passed on all her old copies and I thought they were brilliant.  I’m not ashamed to admit I still have one or two of them on my bookshelf.

20.  I now have the theme tune from the baby-sitters club tv adaptation in my head.  Hmm, maybe I shouldn’t admit that I still know how that goes!


So there you have it, 20 random facts about me.  

Have I revealed anything that’s surprised you?  Do you know why cheesy bugs are called cheesy bugs?!  Please do leave me a comment and let me know!

To keep the fun going, I’m tagging the following bloggers to write 20 facts about themselves:

Suburban Mum

OMG it’s a girl

And another ten things