Give Your Bathroom a Renovation

How to Give Your Bathroom a Renovation Without a Whole Rebuild

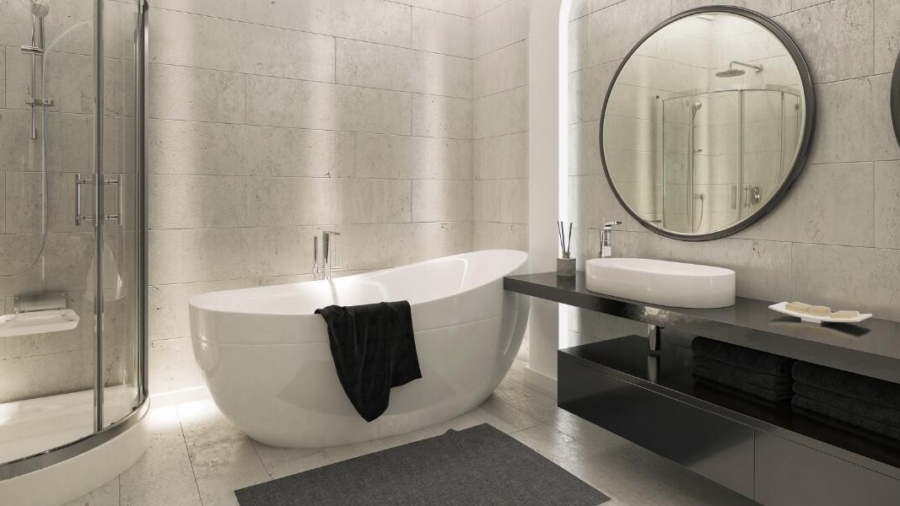
The tiles are tired, the grout is greying and the taps are too clunky for your style. There are so many things you don’t like about your bathroom, but you don’t have the time to strip it out and start again.

So, what are your options?

You might be pleasantly surprised to find out that small changes can make a huge difference.

If you’re looking to make some DIY bathroom improvements without knocking the walls and floors out, here’s how to get started. 

Make simple cosmetic updates

Start out with some simple changes that avoid the disruption of a full remodelling project. You won’t need planning permission to make noticeable changes to the space.

Painting the walls in a clean, modern shade can instantly brighten the room and make it feel more spacious. Signs of wear in the bathroom frequently show up on tile grout, so you may want to reapply this. 

Likewise, refreshing sealant around the bath or shower can help to improve the overall impression of cleanliness. Flooring doesn’t need to be a huge project either. With either vinyl or laminate flooring, you can cover or replace the previous choice with relatively minimal effort.

Upgrade the storage

Bathroom storage solutions don’t need to take up the whole room. You can use integrated solutions or stylish add-ons to add extra functionality, and these are widely available across the UK. 

A few of our favourite quick bathroom storage upgrades include:

  • Wall-mounted shelving units, painted in a contrasting shade
  • Mirrored cabinets with clever soft-touch opening
  • Under-sink organisers, which can be as basic as a plastic tray
  • Wicker baskets, which help you deal with clutter in a rustic way

Your bathroom doesn’t need to look show home-perfect, but good storage ideas should help you and your family to keep the essentials tucked away while being easily accessible.

Updated fixtures and fittings

Upgrading a few key features can create a fresh and clean look. The light fitting will influence the style of the room and the way that light diffuses into it, so it’s worth taking your time choosing. 

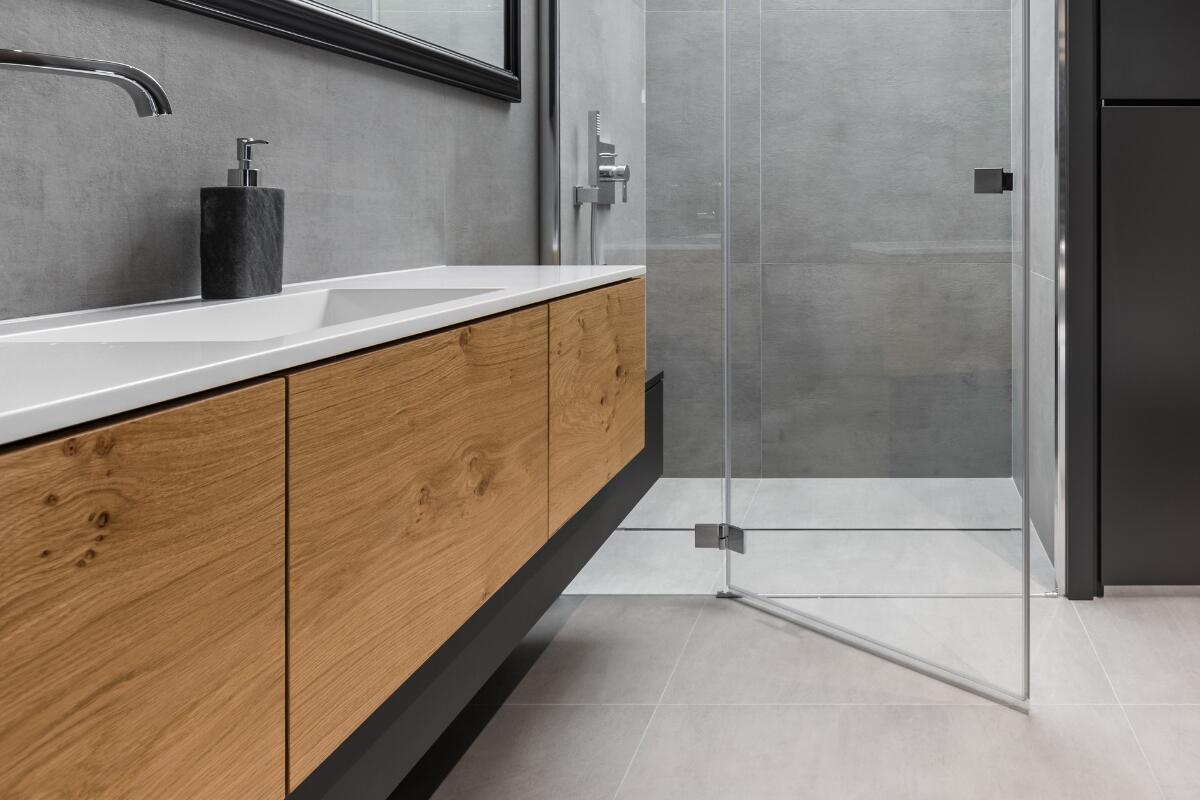
The sink is the focal point for most bathroom visitors, at least if they’re not distracted by the mirror. Replacing older hardware and choosing contemporary options like chrome-finish bathroom taps can help to revamp the sink. 

You might choose to install a vanity unit beneath the sink, too. This addition comes with practical benefits for the whole household but may demand a little bit more work from you.

Add some personality

Finally, don’t forget to accessorise to make it yours. You can stick to a certain theme or mix and match styles and textures for extra character.

Framed artwork might make the room feel more comforting. This might not be the most practical for every household though, so it’s worth checking out some of the best bathroom houseplants to add shape and greenery.

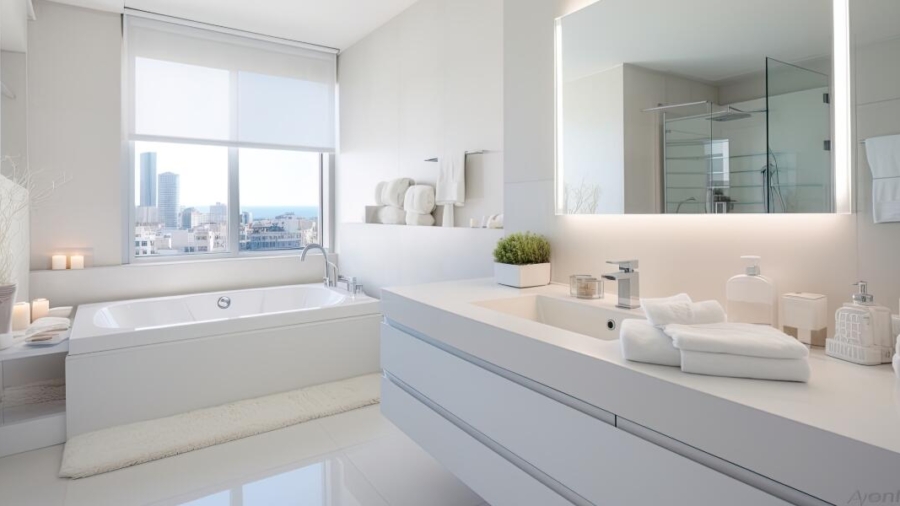
Plush towels look amazing in any bathroom, but if you’re going for a minimalist look, we recommend choosing thick, white Egyptian cotton. Bathmats make a lovely addition and can be either stylish or unexpectedly funny depending on your taste.

It’s your palette, so get ready to experiment. 

Disclosure: this is a collaborative post

upgrade your living room

4 ways to upgrade your living room

Your living room doesn’t need a full renovation to feel completely different.

A few well-chosen updates, like bolder colour on the walls, a more considered lighting arrangement, and a new layer of texture, can shift the whole character of a space.

Here are four changes worth making.

  1. Introduce Richer Colours and Modern Palettes

The long reign of grey and cool minimalism is firmly over. Deep greens, warm reds, burnt oranges, and earthy neutrals have taken over as the go-to palette for living spaces in 2025, and the effect is immediately warmer and more personal.

These tones work especially well when carried across more than one surface, like a painted wall paired with upholstery in a complementary shade creating a cohesive, layered interior design approach that feels considered rather than accidental.

If a full repaint feels like too much of a commitment, cushions, throws, and a statement rug can introduce the same richness with far less disruption.

  1. Upgrade Lighting for Ambience and Style

A single overhead bulb flattens a room. Layering your sources — a floor lamp in one corner, a table lamp beside the sofa, a sculptural pendant overhead — creates depth and gives each area of the room its own character.

Natural light deserves the same attention; choosing the right roller blinds for your living room windows lets you soften harsh afternoon glare without blocking light entirely, which makes a real difference once the rest of your lighting scheme is in place.

  1. Add Texture Through Furniture and Soft Furnishings

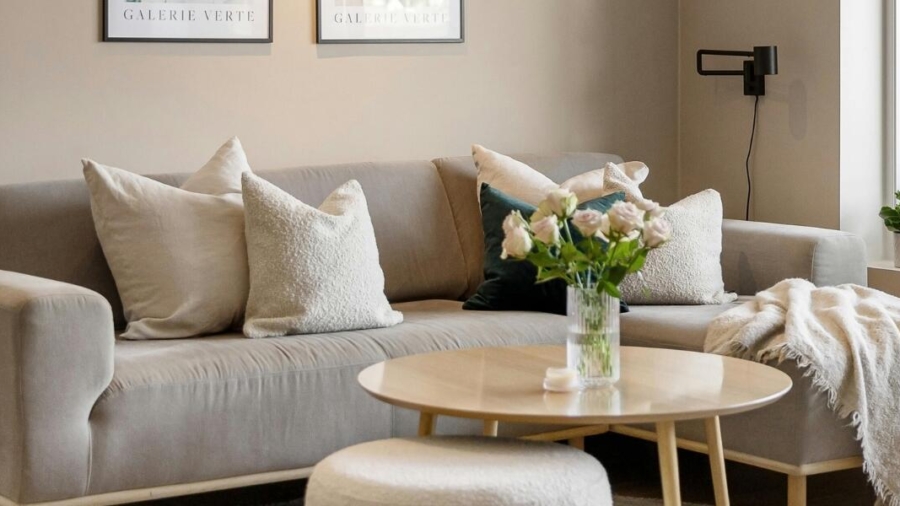
A room that looks flat usually lacks tactile variety. Mixing materials, like a wool throw over a linen sofa, a jute rug on bare floorboards, or a boucle armchair beside a wooden side table, builds the kind of visual depth that makes a space feel genuinely considered.

Textured wallpaper and wall panelling have also gained real traction this year for exactly the same reason: they add interest to surfaces that would otherwise just recede into the background.

  1. Create a Comfort-Focused Layout

Furniture pushed against every wall tends to make a living room feel more like a waiting room than a place to relax. Pulling seating inward to create a loose conversation grouping, with a coffee table at the centre and enough room to move freely, immediately makes the space feel more intentional.

Prioritise plush fabrics like velvet and chenille for key pieces, and think carefully about how comfort-led furniture choices define a room’s atmosphere before making any big purchases.

A living room upgrade doesn’t need to be expensive or disruptive. Pick one area, such as colour, light, texture, or layout, and work outward from there.

Disclosure: this is a collaborative post

The Seating Issues Most People Ignore

Workday Fatigue Starts Here: The Seating Issues Most People Ignore

Have you ever noticed how drained you feel halfway through the workday, even though you’ve only been sitting at your desk? Many of us blame long hours or a heavy workload, but one often-overlooked factor is your seating. A chair that doesn’t support your body properly can silently sap your energy, leaving your back sore, your shoulders tense, and your focus slipping.

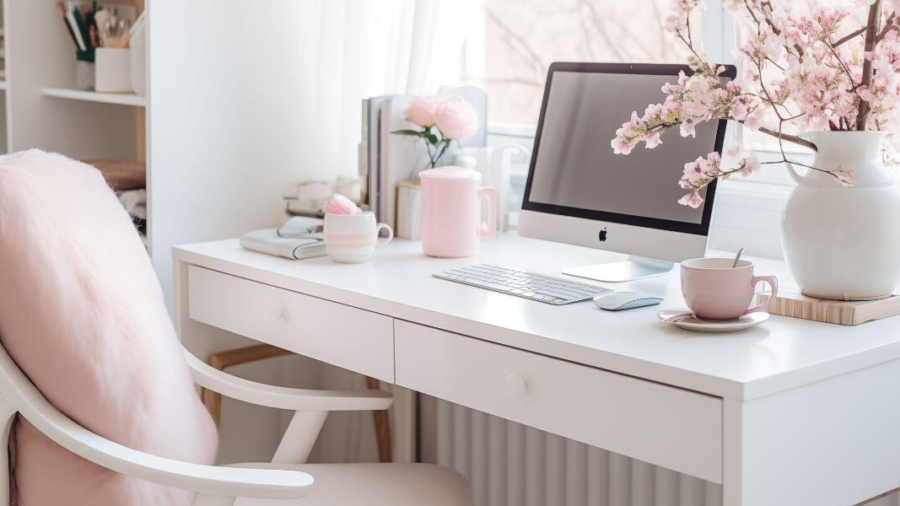
Choosing a supportive home office chair is a simple way to start feeling more comfortable and alert during long hours at your desk.

Understanding how seating affects your body and making small adjustments can dramatically improve both comfort and productivity.

Why Your Chair Could Be Draining Your Energy

Even minor slouching or leaning forward puts a lot of strain on your spine and muscles. Over time, this leads to tension in the back, neck, and shoulders, which can make even simple tasks feel exhausting. You might notice that your energy dips mid-morning or mid-afternoon, and it’s not just about sleep. Poor posture reduces circulation and oxygen flow, which makes it harder for your brain and body to stay alert.

When your chair supports you properly, your muscles don’t have to work overtime, and you can maintain focus without feeling fatigued.

How the Right Chair Can Change Your Day

Many people think discomfort is just part of sitting at a desk, but it doesn’t have to be. A good chair works with your body, helping you sit upright without effort.

  • Less Slouching: A chair with proper back support encourages your spine to stay aligned naturally. You’ll notice you sit taller without even thinking about it.
  • Better Focus: When your back, shoulders, and neck are comfortable, your mind can concentrate on tasks rather than aches or numbness.
  • Relaxed Shoulders: Proper armrests and seat design prevent tension from building in your shoulders, so you won’t constantly hunch forward.

Even small improvements in support can make your workday feel easier and more productive.

What to Look for in a Chair

Finding the right chair doesn’t require scientific knowledge, just attention to a few key features. Adjustable height lets your feet rest flat on the floor and keeps knees level with hips. Lumbar support should fit the natural curve of your lower back to maintain posture effortlessly. Breathable materials, like mesh, keep you cool, while a chair with enough depth allows you to sit fully back without pressure behind your knees.

Occasionally switching to a second home office chair that provides a slightly different posture can also help during long workdays, giving your muscles a brief change in support and reducing fatigue.

Small Habits That Make a Big Difference

Even with the best chair, movement is essential. Standing up every hour, taking a quick walk to the kitchen, or doing gentle shoulder rolls keeps your circulation going and prevents stiffness. Positioning your monitor at eye level and keeping your keyboard within reach reduces strain on your neck and shoulders. Engaging your core lightly while sitting also helps maintain alignment, making it easier to stay comfortable for longer periods.

These habits work hand-in-hand with good seating to keep you alert and energised throughout the day.

Recognising When Your Seating Isn’t Helping

Frequent back or shoulder pain, tingling in your legs, or feeling drained early in the afternoon are signs your chair isn’t supporting you properly. Listening to your body and making adjustments early can prevent longer-term issues like chronic back pain or poor posture habits. Regularly reviewing your workspace and making simple tweaks ensures your seating continues to meet your needs.

Conclusion

Workday fatigue often starts with something as simple as your chair. Poor seating silently drains energy, strains muscles, and reduces focus. By investing in a supportive home office chair and combining it with thoughtful desk setup and movement habits, you can protect your body, maintain alertness, and make your workday feel less tiring.

Better seating isn’t just a comfort upgrade, it’s a productivity booster, a posture protector, and a small change that pays off all day long.

Disclosure: this is a collaborative post

bathroom

Bringing Style and Function Together: The Magic of a Better Bathroom

Have you ever walked into a room and felt like every single piece of furniture was made exactly for that space? It feels tidy, calm, and very smart. When people want this feeling in their home, they often choose a Fully Fitted Bathroom. This type of design means that all your cupboards, the toilet, and the sink are joined together to fit perfectly along your walls. There are no awkward gaps where dust can hide, and you cannot see any messy pipes. If you are looking for ways to update your home in Bath, you might notice that many beautiful houses use this style to make the most of every centimetre. It doesn’t matter if your house is big or small; a fitted approach helps you keep everything organised while looking like something out of a glossy magazine.

The best part about combining style and function is that your bathroom becomes easier to use. You don’t have to worry about where to put your spare towels or where to hide the cleaning bottles. Everything has its own secret home inside the cabinets. This leaves the rest of the room looking clean and fresh, which is exactly what you want when you are getting ready for school or work in the morning.

Why Fitted Furniture is a Smart Choice

In a normal bathroom, the sink often stands on a pedestal, and the toilet stands alone. This leaves “dead space” on either side that you can’t really use. In a fitted layout, that space is turned into useful cupboards. It is like having a giant puzzle where every piece is a storage box!

Here are a few reasons why this works so well:

  • Hidden Pipes: All the water pipes are tucked away inside the units, making the room look much neater.
  • Continuous Worktops: You get a long, flat surface around your sink, perfect for placing your toothbrush or soap.
  • No More Dust Bunnies: Because the units go all the way to the floor and wall, there are no tiny gaps to clean with a vacuum or cloth.
  • Matching Colours: You can choose one colour for all the wood and a matching colour for the tiles, which makes the room feel very peaceful.

Keeping the Room Safe and Bright

A bathroom needs to be bright so you can see what you are doing, but it also needs to be safe. Since water and electricity don’t get along, all the lights and switches must be fitted by a professional. Many modern fitted bathrooms use LED lights tucked under the cupboards. This creates a soft glow on the floor, which is great if you have to use the bathroom at night and don’t want to turn on the big, bright ceiling light.

You should also think about the floor. Because bathrooms can get a bit splashy, choosing “anti-slip” tiles is a very clever idea. These tiles feel a bit like very fine sandpaper so your feet stay steady, even when the floor is wet. It is a simple way to make sure everyone stays safe while the room still looks beautiful.

Five Important Facts About Bathroom Design

To help you understand how a great bathroom works, here are five key facts:

  1. Storage Secrets: Using fitted furniture can give you twice as much storage space as a standard sink and toilet.
  2. Mirror Magic: Large mirrors don’t just help you see your face; they bounce light around the room to make it feel much bigger than it really is.
  3. Steam Control: A good extractor fan pulls out about 15 litres of wet air per second, which helps keep your walls from getting damp.
  4. Water Weight: When a bathtub is full of water and a person, it can weigh as much as a small car! The floor must be very strong to hold it.
  5. Quiet Flushing: Hiding the toilet cistern (the water tank) inside a wooden cabinet makes flushing much quieter, which is nice for nearby bedrooms.

Choosing the Best Materials

Since your bathroom will be used every single day, the materials need to be tough. Many people choose “gloss” finishes for their cupboards because they are shiny and very easy to wipe clean with a damp cloth. Others like “wood-effect” finishes because they make the room feel warm and cosy, like a little spa in your own home.

The tiles you choose are also important. Porcelain tiles are excellent because they are very hard and do not let water soak into them. If you use large tiles, you will have fewer “grout lines” (the lines between tiles). Fewer lines mean there is less place for dirt to hide, so your bathroom stays sparkling clean with much less work.

Frequently Asked Questions

Is a fitted bathroom okay for a tiny room? Yes! It is actually one of the best choices for small spaces. Because the units are built to fit your walls exactly, you don’t waste a single millimetre of space. It can make a tiny room feel much more organised.

Can I pick different colours for my fitted units? Absolutely. You can choose dark colours like navy blue for a modern look, or light colours like white or light grey to make the room feel airy and bright. You can even choose different handles to match your taps.

Putting It All Together

When you bring style and function together, you create a room that works perfectly for your whole family. It is about more than just a place to wash; it is about having a space that stays tidy and makes you feel happy. By choosing fitted furniture, you hide the messy bits, create lots of storage, and make cleaning much faster.

Think about how you use the room each day. Do you need a big mirror? Do you need a drawer for your hairbrush? When you plan these things at the start, you end up with a bathroom that feels like it was designed just for you. Whether you are living in a historic home in Bath or a modern house anywhere else, a well-planned, fully fitted space is a brilliant way to add value to your home and make your daily routine much more enjoyable for years to come.

Disclosure: this is a collaborative post

growing space

How One Mum Turned a Narrow Side Passage into a Growing Space

A narrow side passage often sits unused, too slim for storage and too shaded for most plants, yet too visible to ignore. For one mum in Surrey, that awkward strip between her house and fence became something far more productive. She installed a greenhouse against the south-facing wall, turning a forgotten space into a year-round growing area for tomatoes, herbs and seedlings.

These structures fit neatly against existing walls, making them well suited to compact gardens or overlooked corners. By sharing a wall with the house or garage, they gain shelter from wind and retain warmth overnight. This design works particularly well where a freestanding greenhouse would overwhelm the garden or block light from windows. Many UK households now look at wall-mounted structures when trying to make better use of narrow outdoor spaces.

The structure itself varies in size and material. Aluminium frames with toughened glass provide durability and strong light transmission, whilst timber frames suit more traditional properties. Polycarbonate glazing offers added insulation at a lower cost, though it diffuses light differently. Installation typically requires a solid base, either concrete or paving slabs, and careful attention to drainage, particularly in areas prone to heavy rain. Planning permission is not often required for smaller structures, but checking local regulations avoids complications later.

Why Narrow Side Passages Work Well for Lean-To Greenhouses

Most UK terraced and semi-detached properties have side passages between 0.9 and 1.5 metres wide. These strips often go unused, yet they offer genuine potential for growing. The shared wall provides structural support, reducing the amount of framing material required. This can lower costs compared with freestanding models of a similar footprint. For households comparing sizes and configurations, well-proportioned lean to greenhouses designed specifically for narrow UK side passages make practical use of limited width without compromising growing capacity.

The wall also absorbs heat during the day and releases it gradually at night, helping maintain more consistent temperatures for plants. South or west-facing walls usually provide the strongest thermal benefit, supporting a longer growing season and improving reliability for tender crops.

Light levels in narrow passages can vary. Twin-wall polycarbonate glazing allows good light transmission while offering insulation. In well-positioned structures, plants can thrive throughout much of the year. For UK homes, structures below 2.5 metres in height generally fall under permitted development rights, meaning formal planning consent is not required for most standard installations.

Measuring and Planning Your Side Passage Space

Accurate measurements are essential before ordering any structure. Usable width often starts at around 0.9 metres, while 1.2 metres allows more comfortable movement and improved air circulation. Record width, length and wall height carefully when comparing models. Before beginning the project, confirm access routes, wall condition and the location of any external fittings.

Underground services should always be checked before groundwork begins. Drainage pipes, gas lines and utility access points are common in side passages. Contacting the relevant provider or arranging a simple survey helps prevent disruption during installation. Foundation requirements vary with soil type, and local UK water conditions can influence how ground behaves during prolonged wet periods. In areas with clay-heavy ground, a deeper concrete base can reduce movement during wet winters. Sandy soils drain more freely, though additional compaction before laying paving slabs helps prevent future sinking.

Checking Planning Permission and Building Regulations

Most structures of this type fall under permitted development rights in England, provided they remain within local height and boundary limits. They must not sit closer than allowed to a boundary in certain conservation areas, and overall garden coverage must stay within permitted thresholds. When these criteria are met, a formal planning application is not required.

Listed buildings and properties in designated areas may face additional restrictions. In these cases, even modest garden structures can require prior approval. It is sensible to confirm local requirements before installation, particularly where previous extensions or outbuildings already exist on the property, as these can affect remaining permitted development allowances.

Building Regulations approval is not usually necessary for a standard garden greenhouse. However, if electrical connections, heating systems or substantial foundations are involved, separate building regulations approval may apply. Clarifying these points early helps avoid delays and ensures the installation remains straightforward and fully compliant.

Choosing Materials for Durability and Performance

Aluminium frames suit many UK homes due to their resistance to rust and low maintenance requirements. They perform reliably in damp conditions and rarely warp or swell. Timber frames provide stronger natural insulation and a more traditional appearance, though they require protective treatment every few years to preserve structural integrity and weather resistance. In exposed areas, structural stability becomes more important as increasing wind loads in the UK place greater demands on lighter garden structures.

Toughened glass delivers strong light transmission and withstands accidental impact in busy family gardens. It allows clear visibility and supports healthy plant growth across the seasons. Twin-wall polycarbonate offers improved insulation compared with single-pane glass and can help protect crops during colder months. It also diffuses light, which may reduce scorching during periods of intense sun.

Foundation choice plays an important role in long-term stability. A concrete base creates a permanent, level platform capable of supporting a heavier structure and resisting movement in wet conditions. Paving slabs provide a flexible alternative and can be easier to adjust if the garden layout changes in future. Selecting materials with attention to climate, maintenance capacity and long-term plans helps ensure the structure remains reliable for years to come.

Installation Considerations for Confined Spaces

Working within a narrow side passage requires careful sequencing and clear access planning. Setting out the base first establishes a stable and level footprint. Securing the rear frame to the wall at an early stage improves stability before the side panels are installed. Roof glazing is typically fitted last to maintain safer access and reduce the risk of damage during assembly.

Access width should be measured before delivery to ensure panels and frame sections can be moved into position without difficulty. In tighter passages, assembling sections in stages helps keep the working area manageable. Adequate lighting may also be needed if the space is heavily shaded by neighbouring buildings or fencing.

Fixings must suit the wall type. Brickwork generally accepts standard frame fixings placed at regular intervals. Rendered surfaces may require chemical anchors to achieve a secure hold. Cavity walls need appropriate bolts that reach solid structural material. Using correct fixings improves long-term stability and resistance to wind.

Drainage remains an important consideration. Ground levels should slope away from the house to prevent water collecting at the base. Checking that gutters and downpipes do not discharge directly into the installation area reduces the risk of standing water and protects both the structure and the property, particularly as updated sustainable drainage standards place greater emphasis on managing surface water effectively.

Managing Ventilation in Narrow Structures

Ventilation plays a key role in narrow installations. Limited width restricts natural airflow, which can lead to heat and humidity build-up. Roof vents positioned along the length of the structure allow warm air to escape efficiently. Automatic openers adjust to temperature changes, maintaining airflow even when no one is present.

With careful measuring, considered material choices and attention to drainage and ventilation, even the narrowest side passage can become a reliable growing area. Lean-to structures make practical use of space that would otherwise sit idle, while extending the growing season and protecting plants from changeable UK weather. For families seeking fresher produce and better use of their outdoor areas, a well-planned installation offers steady, long-term value without overwhelming the garden.

Disclosure: this is a collaborative post

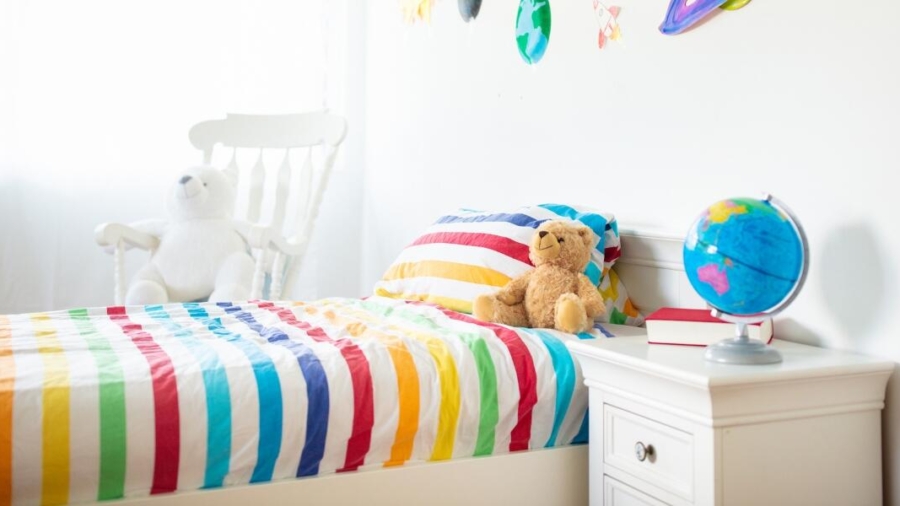
foster child bedroom

How To Decorate A Foster Child’s Bedroom

Decorating a bedroom for a foster child can feel like a lovely thing to do, but it can also feel slightly daunting because you want it to be welcoming and safe, and you want them to know they can enjoy it as their own. 

However it’s important to remember that this isn’t just any old room makeover – it’s basically a new space in the middle of a big life change, so it’s best to approach things carefully. With that in mind, keep reading for some tips on how to decorate a foster child’s bedroom.

Start With Comfort

It can be very tempting to try to create the perfect Pinterest bedroom, but the fact is that what most children need first is comfort. That means cleaning bedding, a soft blanket, a place to put their things, and lighting that isn’t too harsh. 

In the end, a simple cosy space can feel much more reassuring than something that’s been over-styled. Remember, you’re not trying to impress them, you’re trying to make them feel safe. 

Keep It Neutral And Flexible 

When a child first comes into your home, you’re not necessarily going to know their favourite colours, interests, or even what feels familiar to them, and that’s why having neutral walls and simple furniture is a good idea because they’re easy to add to when you find out more. 

That’s the great thing – you can always add personality later, and actually getting the child involved can really help. If they’re able to choose their own posters, bedding, and small decorations, that’s going to give them  some ownership, and when everything feels uncertain, that can make them feel at least a little better and more settled. 

Create Space For Their Things

Foster children might not arrive with all that much, but that doesn’t mean what they’ve got isn’t important – in fact, it might be all they have in the world, so treating it with respect is crucial. 

Having a drawers, a shelf, or a little box that’s just theirs and where they can arrange things however they want sends them the message that they belong and they’re wanted, and that can be really important.

Avoid Overloading The Room

A bedroom that’s too busy can feel overwhelming, especially for a child who’s already processing a lot. So try not to fill every corner with toys or decorations right away. The best thing to do is to leave some space so it feels a bit more relaxing and peaceful – just a few nice things are enough at the start. 

It’s About More Than Decor 

When fostering children, the bedroom is only one part of helping them settle, but it’s a really important part because it’s their private space – something they might never have had before. 

So you don’t have to create the perfect room, but you do need to create a room that’s warm, comfortable, safe, and ready for them. And over time, as they start to feel safer, the room can grow with them. 

Disclosure: this is a collaborative post
Integrated Appliances

Built-In and Integrated Appliances Homeowners Are Choosing in 2026

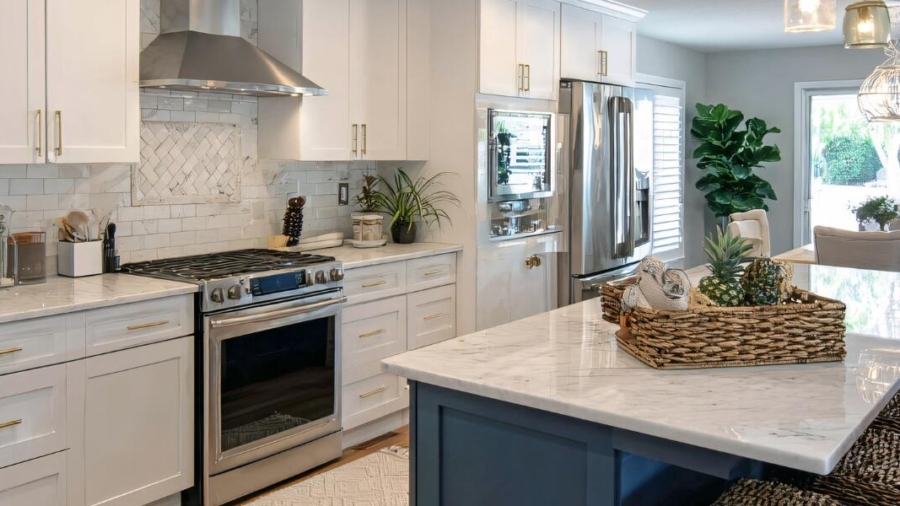
In 2026, modern kitchens are taking the spotlight when it comes to interior decor. Homeowners care just as much about how appliances fit into the space, how easy they are to use day-to-day, and how they help keep the kitchen feeling calm and organised.

Built-in appliances are installed directly into the cabinetry so they sit flush and look like a permanent part of the kitchen. Integrated appliances go one step further by being completely concealed behind matching cabinet doors, creating a seamless, minimalist look.

Built-in and integrated options are both growing in popularity because they create a cohesive finish while also being genuinely practical and aesthetically pleasing. Some great examples include built-in refrigeration, integrated cooking solutions, and integrated wine storage, as they all help kitchens feel less cluttered and more intentional.

If you’re renovating or just making small upgrades, it’s useful to know which appliance styles are trending and why. So, let’s get started with built-in fridge freezers!

Built-In Fridge Freezers

Built-in fridge freezers are designed to fit flush within cabinetry, creating a clean and seamless look. Unlike freestanding models, they sit within a cabinet opening and often have a surrounding trim for a polished finish.

The main appeal is that they help kitchens feel less “appliance-heavy,” especially in open-plan homes where a visible fridge can disrupt the flow. Homeowners love that they still offer the same storage as a freestanding model, but without taking up visual space.

Tips for Choosing a Built-In Fridge Freezer:

  • Measure your cabinet space carefully before you buy
  • Check door hinge styles to match your kitchen layout
  • Look for energy-efficient models to save on bills
  • Decide if you need more fridge or freezer space

Integrated Fridge Freezers

Integrated fridge freezers are designed to be completely hidden behind a matching cabinet door, creating a seamless look that blends into the kitchen. They are ideal for homeowners who want their kitchen to feel clean, calm, and minimalist.

Tips for Choosing an Integrated Fridge Freezer:

  • Confirm your cabinet door style and hinge compatibility
  • Choose the right size for your household needs
  • Look for energy-efficient models
  • Consider ventilation requirements

Built-In Wine Storage

Built-in wine storage is a fridge-style unit designed to sit flush within kitchen cabinets, often with temperature controls to protect wine quality. Built-in wine storage is increasingly treated as part of the kitchen design rather than an extra add-on.

Built-in options keep bottles organised and easy to access, while still looking neat and streamlined. They’re especially popular for those who like to keep wine on hand for everyday meals or entertaining, but don’t want a bulky appliance taking up space.

Tips for Choosing Built-In Wine Storage:

  • Decide how many bottles you want to store
  • Pick between single or dual temperature zones
  • Consider ventilation and installation space
  • Look for a model that fits your kitchen style

Integrated Wine Fridges

Integrated wine fridges are designed to be completely concealed behind a matching cabinet door, making them a truly seamless addition to modern kitchens. They offer the same temperature control and storage benefits as a standard wine fridge, but without the visual impact.

This makes them ideal for homeowners who want their wine storage to feel like a natural part of the kitchen rather than a standalone appliance.

For stylish and highly recommended options, check out Elite Wine Refrigeration’s Integrated Wine Fridge collection.

Tips for Choosing an Integrated Wine Fridge:

  • Decide how many bottles you want to store
  • Pick between single or dual temperature zones
  • Consider ventilation and installation space
  • Look for a model that fits your kitchen style

Integrated Dishwashers

Integrated dishwashers are designed to blend into the cabinetry, with the controls hidden behind a matching door. They’re popular because they reduce visual clutter and make the kitchen feel more organised and calm.

In family homes, an integrated dishwasher can also make the kitchen feel more like a living space than a utility area, which matters when you’re hosting or spending time in the room every day.

Tips for Choosing an Integrated Dishwasher:

  • Pick a model that fits your daily dish load
  • Choose a quiet model if your kitchen is open-plan
  • Check how easy it is to access the racks
  • Consider energy and water ratings for long-term savings

Built-In Ovens and Microwaves

Built-in ovens and microwaves are installed within the cabinetry instead of sitting on countertops or under the worktop. Many homeowners opt for stacked ovens or a combined oven and microwave setup because it creates a cleaner layout and makes cooking more convenient.

Eye-level ovens are easier to access, and they also free up storage space in lower cabinets. This setup works well in both large kitchens and smaller ones where storage is a priority.

Tips for Choosing Built-In Ovens:

  • Think about how often you use the oven versus the microwave
  • Choose the layout that feels most natural for your cooking style
  • Check the capacity and whether it fits your favourite cookware
  • Look for easy-clean interiors for less maintenance

Warming Drawers and Compact Appliances

Warming drawers are small built-in drawers that keep food warm until you’re ready to serve. Compact appliances include small built-in options like coffee machines, compact ovens, or mini fridges.

These are becoming more common because they’re useful without taking up much space. Homeowners who enjoy hosting love them, as do people who want a kitchen that works smoothly for everyday life. They’re a simple way to add a touch of luxury without making the kitchen feel crowded.

Tips for Choosing Warming Drawers:

  • Think about how often you’ll actually use it
  • Match the size to your oven layout
  • Check the temperature settings and controls
  • Make sure it fits your cooking habits (entertaining vs everyday use)

Looking to Upgrade Your Home Appliances?

Built-in and integrated appliances are becoming more popular in 2026 because they’re a smart upgrade for everyday life and a strong long-term investment. More homeowners are choosing options that blend seamlessly into cabinetry and support modern, flexible living.

These appliances help keep your kitchen organised, clutter-free, and looking great. If you’re updating your kitchen or planning a full remodel, discreet built-in upgrades and fully integrated appliances like hidden refrigeration and integrated wine storage are now a normal part of home improvement planning, and certainly not just a luxury add-on.

Disclosure: this is a collaborative post