
We love getting crafty in our house.
There’s a big cardboard box stashed under a table in the lounge that is almost overflowing now with art and craft supplies, and the children love pulling it out and getting creative, making whatever they fancy from the contents.
So we were all rather excited when this box arrived from Vision Direct with new supplies to get creative with for Christmas!
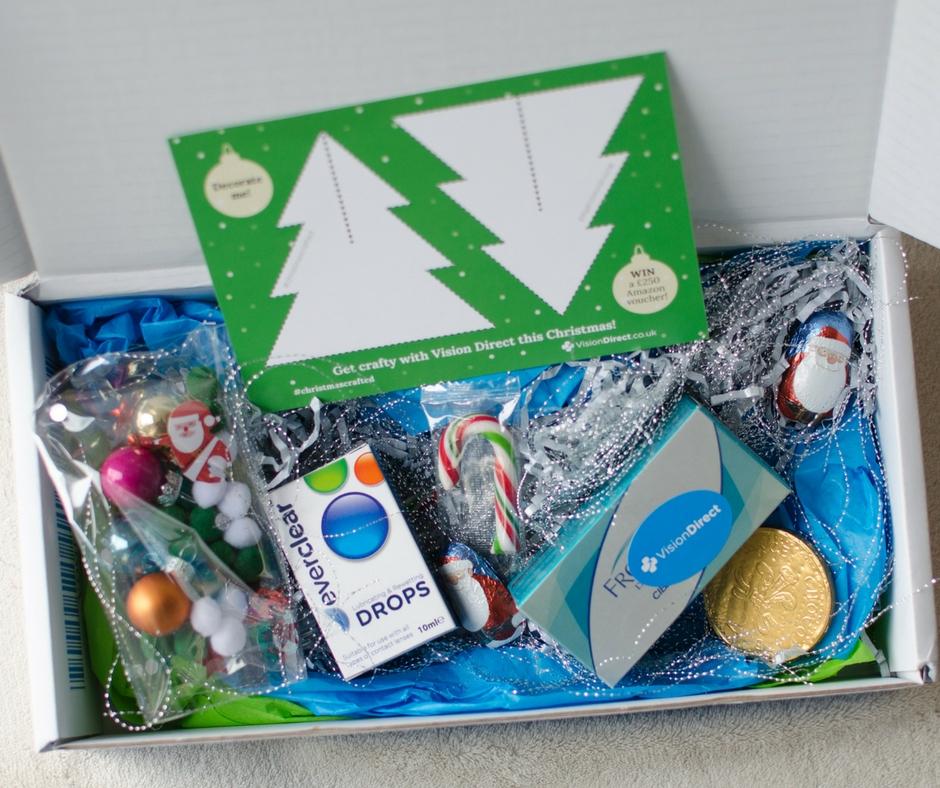
Vision Direct have got a really fun competition running at the moment, where you can get crafty turning old boxes into Christmas trees for a chance to win £250 in Amazon vouchers.
They sent us this little box of crafty bits and pieces so that we could have a go and see how easy and fun it is to do!
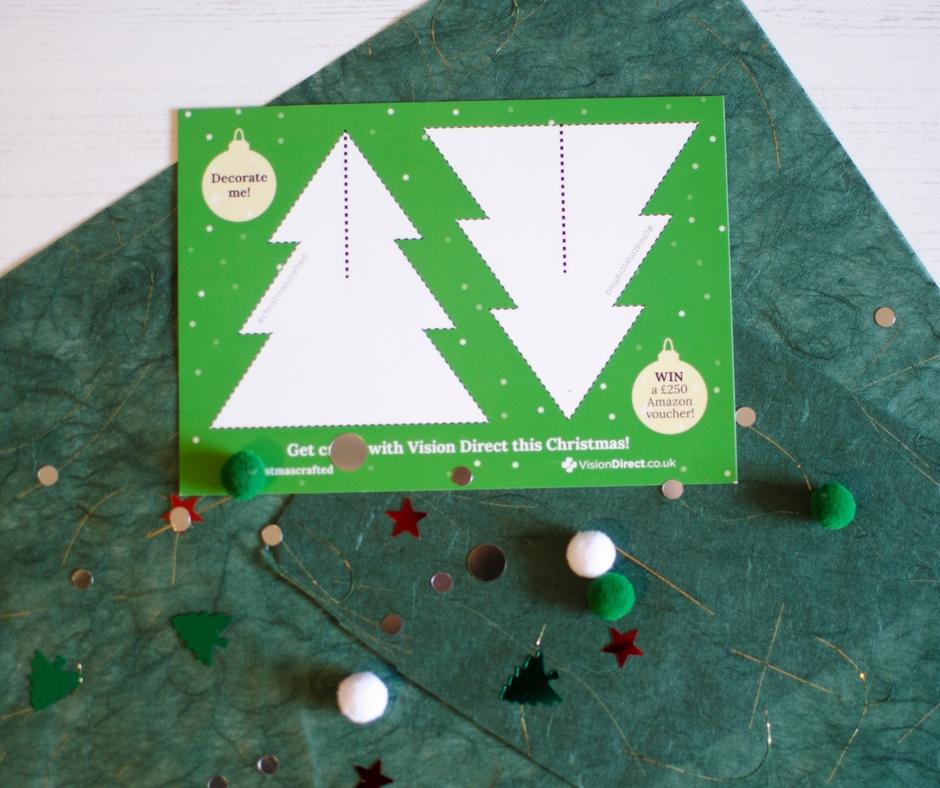
There was a postcard in the box with templates for the Christmas tree, but you can also download templates in a few different sizes from the Vision Direct website.
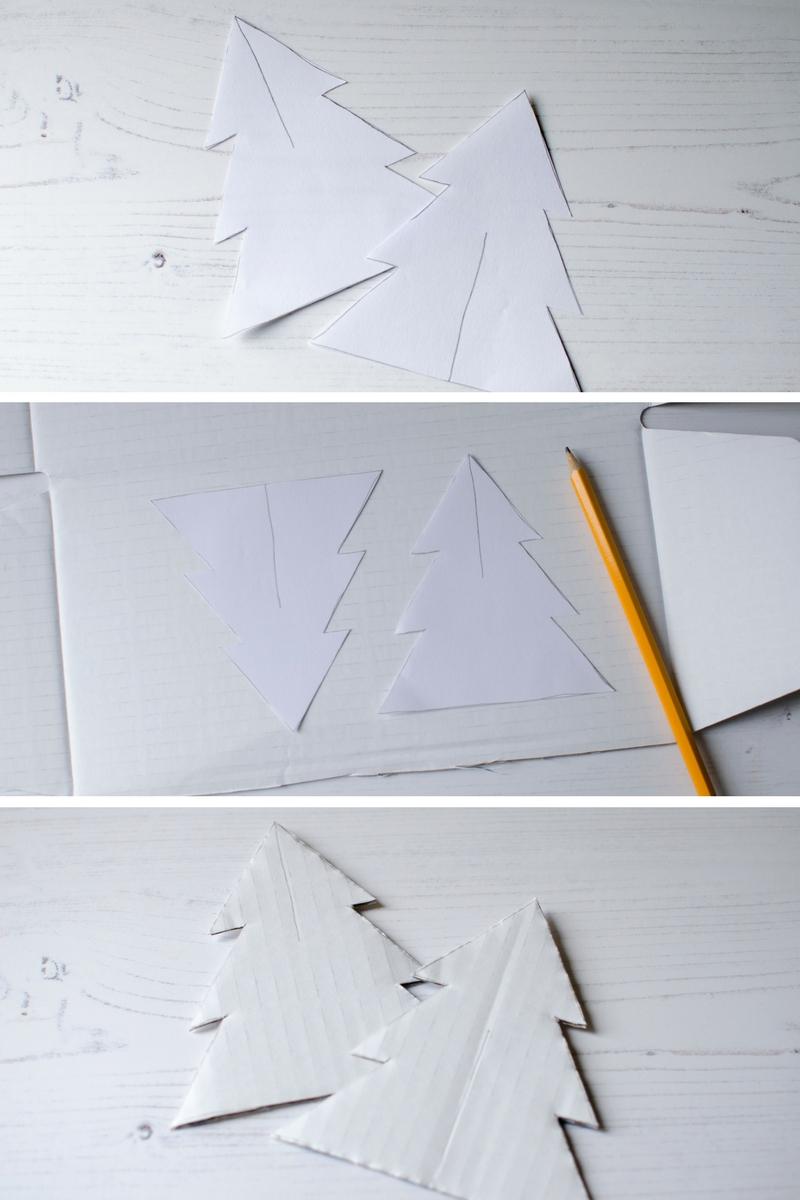
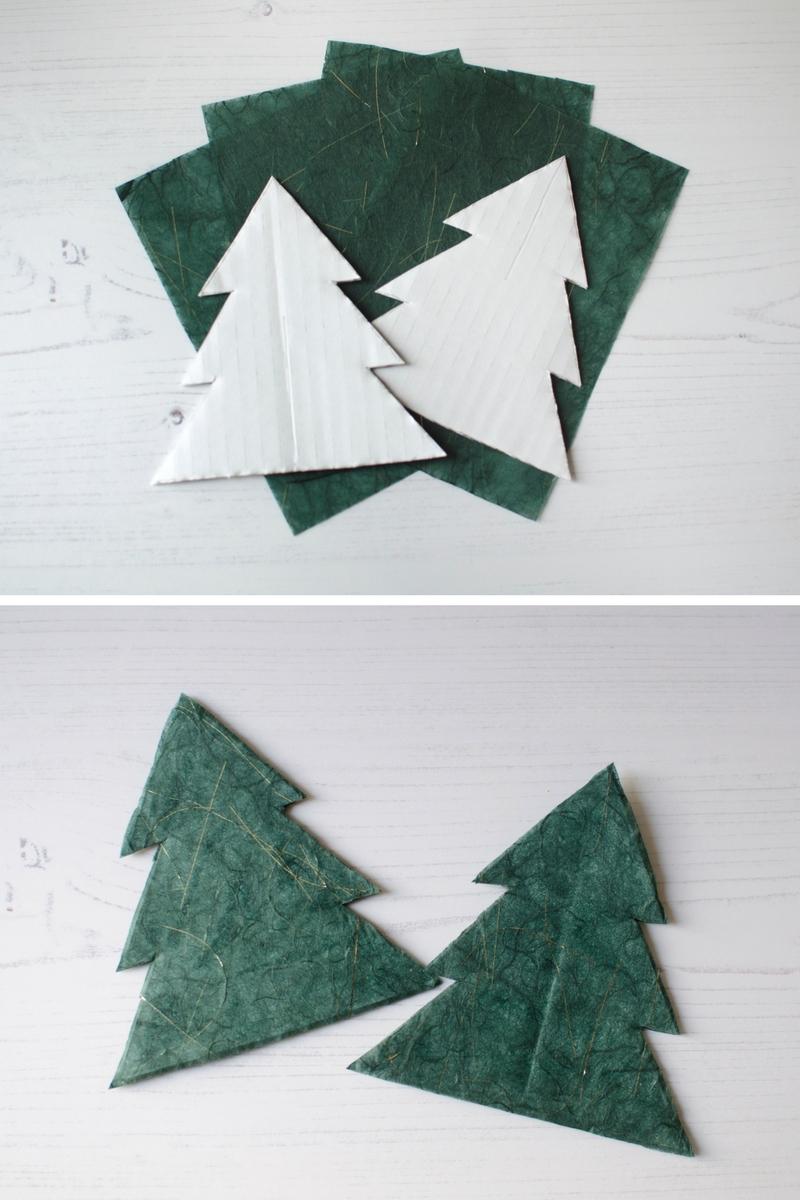
I didn’t want to cut up my postcard (in case I wanted to photograph it again – blogger problems!) so I traced the templates on to a piece of paper and then cut them out. Then I flattened the box a bit and drew round the templates on part of it, then cut the tree shapes out.
Then the fun part started!
I found the perfect green mulberry paper in my craft stash, that was just the right shade of green and even had strands of gold running through it. I covered the tree shapes in glue and stuck the paper to each side, then trimmed around the edges and left them to dry.
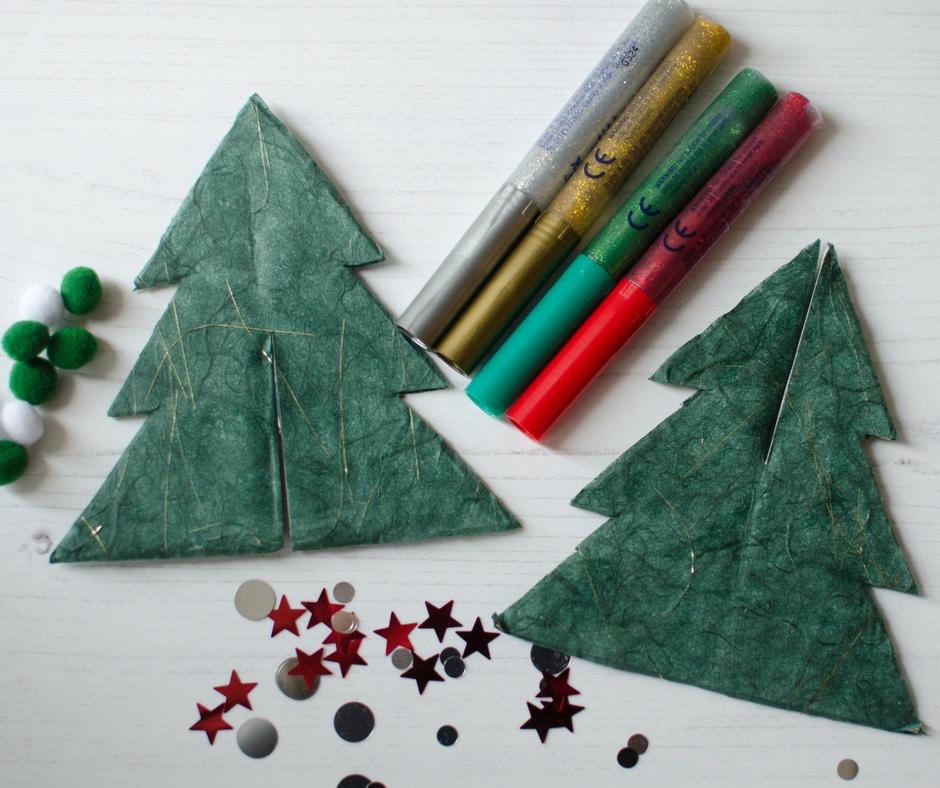
Once the glue was properly dry we gathered the materials we wanted to use to decorate the trees.
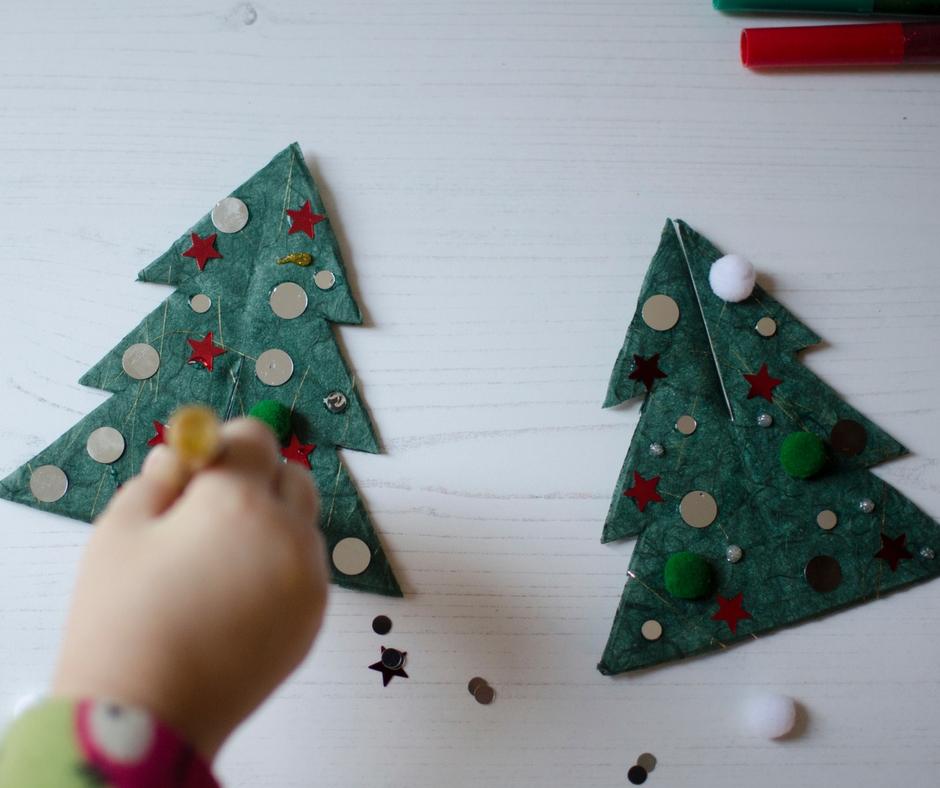
Nerys and I decided to keep our trees quite simple, and just used some glitter glue, little pom poms and shiny Christmas confetti pieces.
I thought it might be a little bit fiddly for Nerys at times, but she actually did really well sticking the little pieces on to the trees.
If you’re making a tree yourself to enter in the competition, then you can get as creative as you like at this stage.
You can keep your tree on the minimalist side like we did, or you can go all out and cover it in glitter and sparkles and stickers and all sorts!
The hardest part of making these with Nerys was keeping her distracted while the two halves were drying, because she was just desperate to put them together and see the finished tree!
Luckily the kind people at Vision Direct had slipped a few chocolate treats in the box with the craft supplies, so I made use of those to keep Nerys happy.
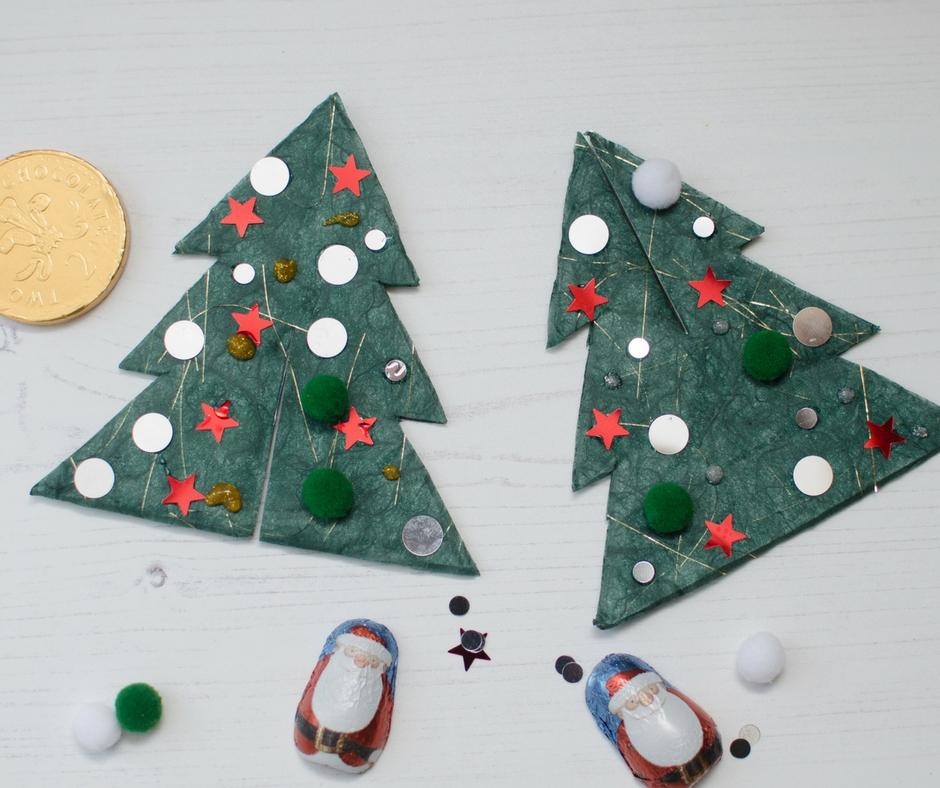
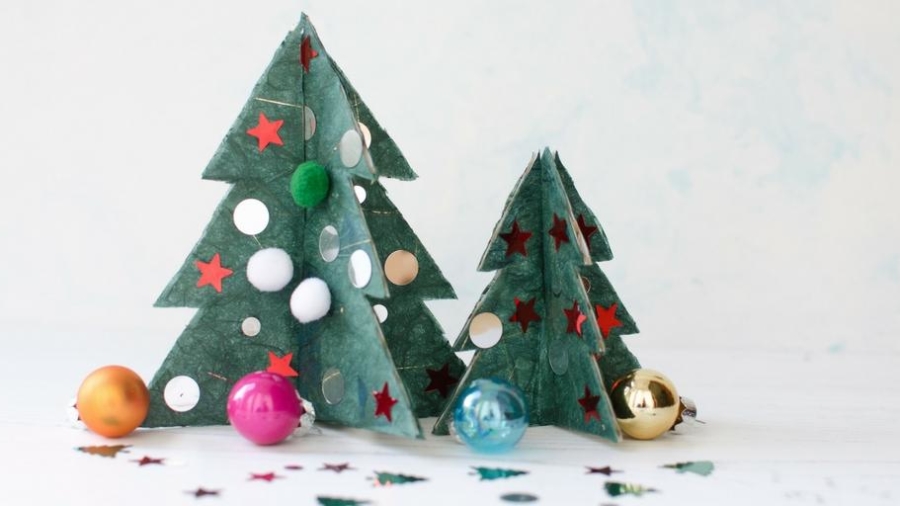
The final stage of making our Christmas creations was slotting the two halves of the trees together.
This was nice and easy to do thanks to the lines marked on the templates. And here are our end results. Not too shabby!
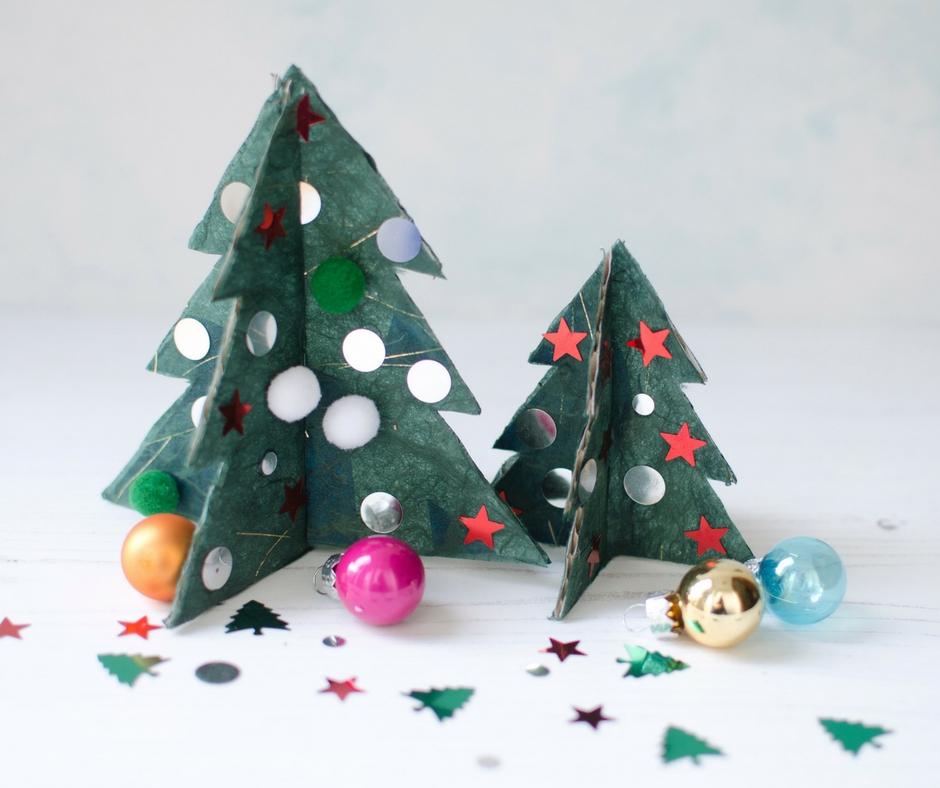
Our trees are now standing proudly on our mantelpiece, and they look great alongside our other decorations!
If you’re feeling inspired now and fancy having a go yourself you can head to Vision Direct and download the tree templates from there. Once your tree is complete you just need to share a photo of it on Facebook, Twitter or Instagram using the hashtags #christmascrafted and #visiondirectuk.
Have fun and good luck!
Disclaimer: This is a collaborative post with Vision Direct.